You can customize templates as physical files in your theme or customize them using the WordPress dashboard. Both approaches are described in the following sections.
Customize Email Templates Using the WooCommerce Settings
Go to WooCommerce > Settings > Emails, and you will find the Email Template section.
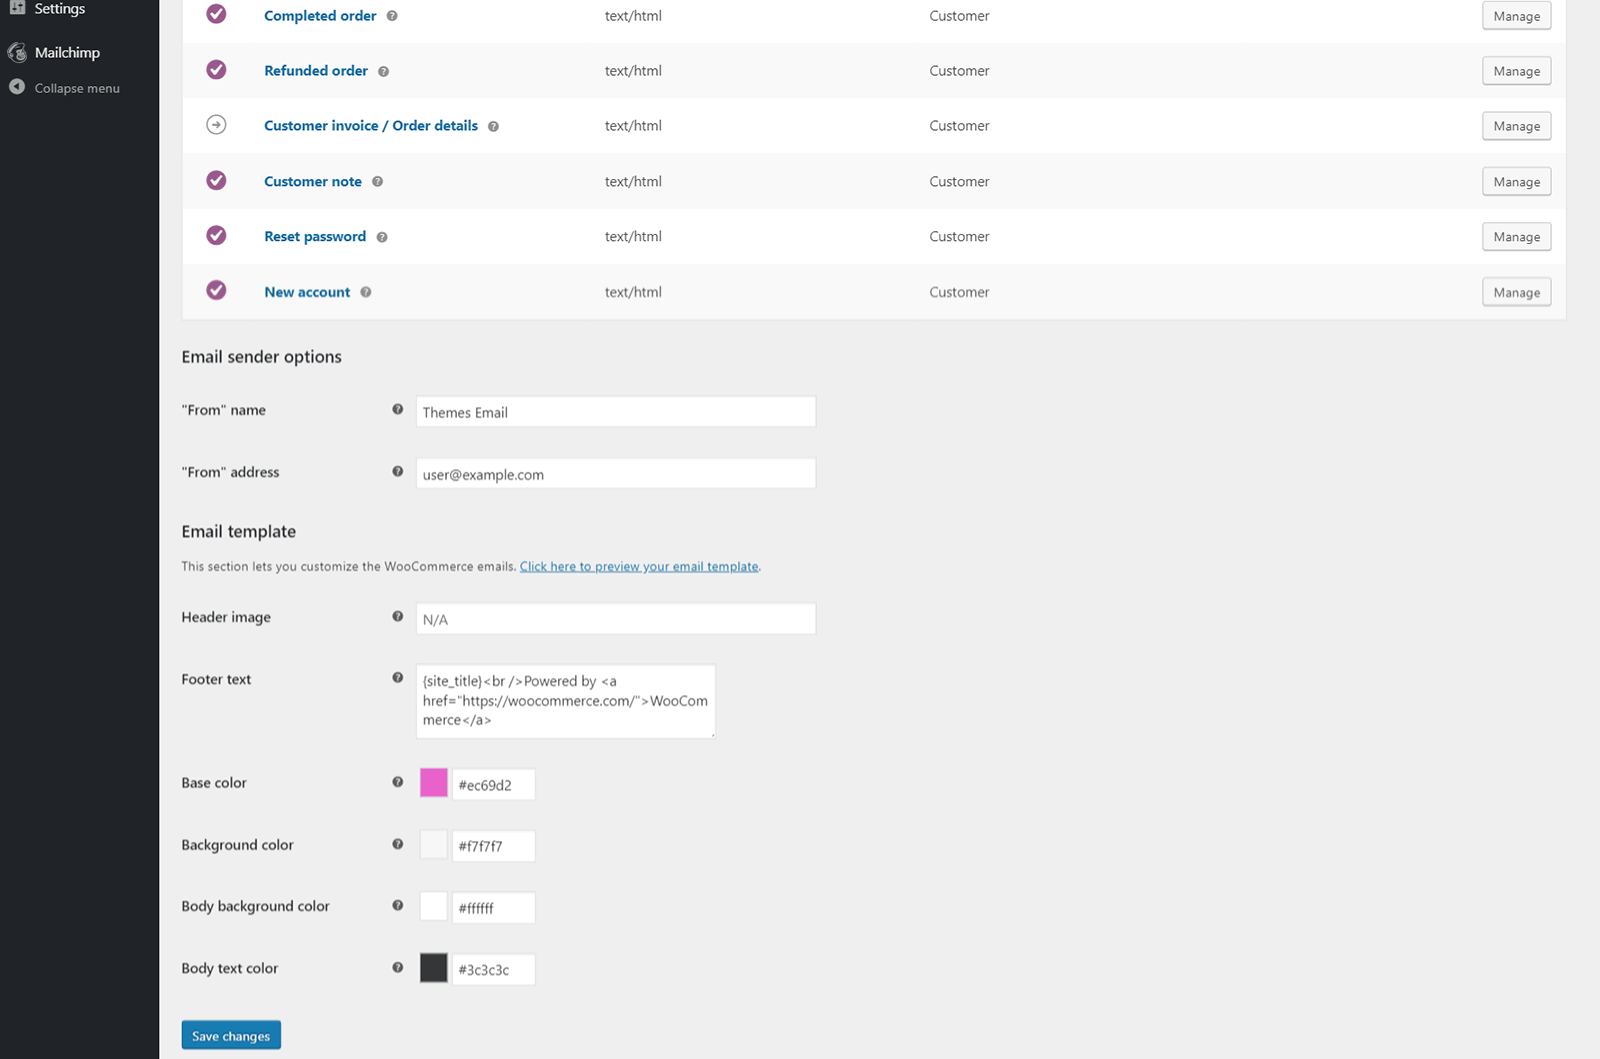
Here you will find some options for changing the logo, footer text, and colors. For more advanced modifications, you will have to modify the files and upload them via FTP.
Customize Email Templates Using Custom HTML & CSS
Email templates depend on HTML & CSS just like page templates do. If you’re familiar with HTML & CSS, then you can modify the email templates using your favorite code or text editor. The advantage of this method is that it gives you more control over the templates. This method is meant for developers or advanced users.

Email Templates Main Files
- email-header.php. This file contains the HTML header of the email.
- email-footer.php. This file contains the HTML footer of email.
- email-styles.php. WooCommerce takes a set of CSS rules and dynamically inserts them into the template as inline styles.
You can add all the CSS rules you want into the email-styles.php file, and WooCommerce will take care of adding them to email-header.php and email-footer.php files as inline styles.
Modification Example
Let’s put everything together and change the text of the header and its font.
Open your email as a preview in Google Chrome (WooCommerce > Settings > Emails > Email Template — Click here to preview your email template) and open the Dev Tools (key F12 and click Select an element to inspect it).
Now hover over the heading text you want to change and then click. You should have selected the heading element and see something like this:
<h1>This is heading 1 - the anchor text</h1>
This is an HTML element from the email-header.php file.
Now look in the right sidebar of the Dev Tools, and you should see something like this:
h1 {
color: #666666;
font-family: Arial;
font-size: 30px;
}
This is a set of CSS rules from the email-styles.php file.
Locate and replace the anchor text inside the h1 element in the email-header.php file and save it. Then locate and replace the CSS attribute font-family in the email-styles.php file and save it. Now you just need to upload these files via FTP to overwrite the old files.
Graphics in Emails
You can’t send graphics along with your email. The only way to do that is to host the graphics on a server and then insert the code into your HTML emails to download the graphics when the message is opened.
It is important to note that HTML emails generally only support absolute paths to links and images embedded within your emails. The absolute path provides the complete HTTP address–the protocol, domain, directory path, and file name with its suffix.
https://themes.email/images/banner.png
Where to Host Images?
If you’re sending emails to thousands of people per day, then you should consider storing your images on a content delivery network (CDN) such as Amazon’s CloudFront. Otherwise, uploading your image to your WordPress will be enough.
A good tip is to upload all your images at the very beginning so you have absolute paths to images from the start.
Linking to an Image in HTML
In HTML, use absolute paths that point back to your WordPress or CDN where the image is located.
<img src="https://themes.email/images/banner.png" alt="Banner">
Image Formats
The three most common formats that are predominantly used in emails are JPEG, GIF, and PNG. Here are the best use cases for all the image file formats:
- JPEG: To showcase photographs of real-world elements and stock photographs.
- GIF: To show any animation or blend elements that don’t use many colors into backgrounds.
- PNG: When you need your image to blend in with the background color.
Retina Images
A high-density display has double the pixel density of a standard display. This means a container of 600 px containing the image of 600 px will be stretched to 1200 px. Therefore, the image will also stretch to 1200 px and become blurred out. It is a good practice to have an image of 1200 px squeezed inside a container of 600 px to render a pixel-perfect image in your emails.
Videos
Many email clients can’t support video rendering, so avoid videos all together.