You can customize templates as physical files in your theme or customize them using the Magento Admin. Both approaches are described in the following sections.
Customize Email Templates using the Magento Admin
Any templates configured in the Magento Admin take precedence over default or theme-based templates.
-
1
Go to Marketing > Communications > Email Templates and click Add New Template.
-
2
If you want to use your newly created theme-based template as a starting point, choose the template in the Load Default Template section and click Load Template.
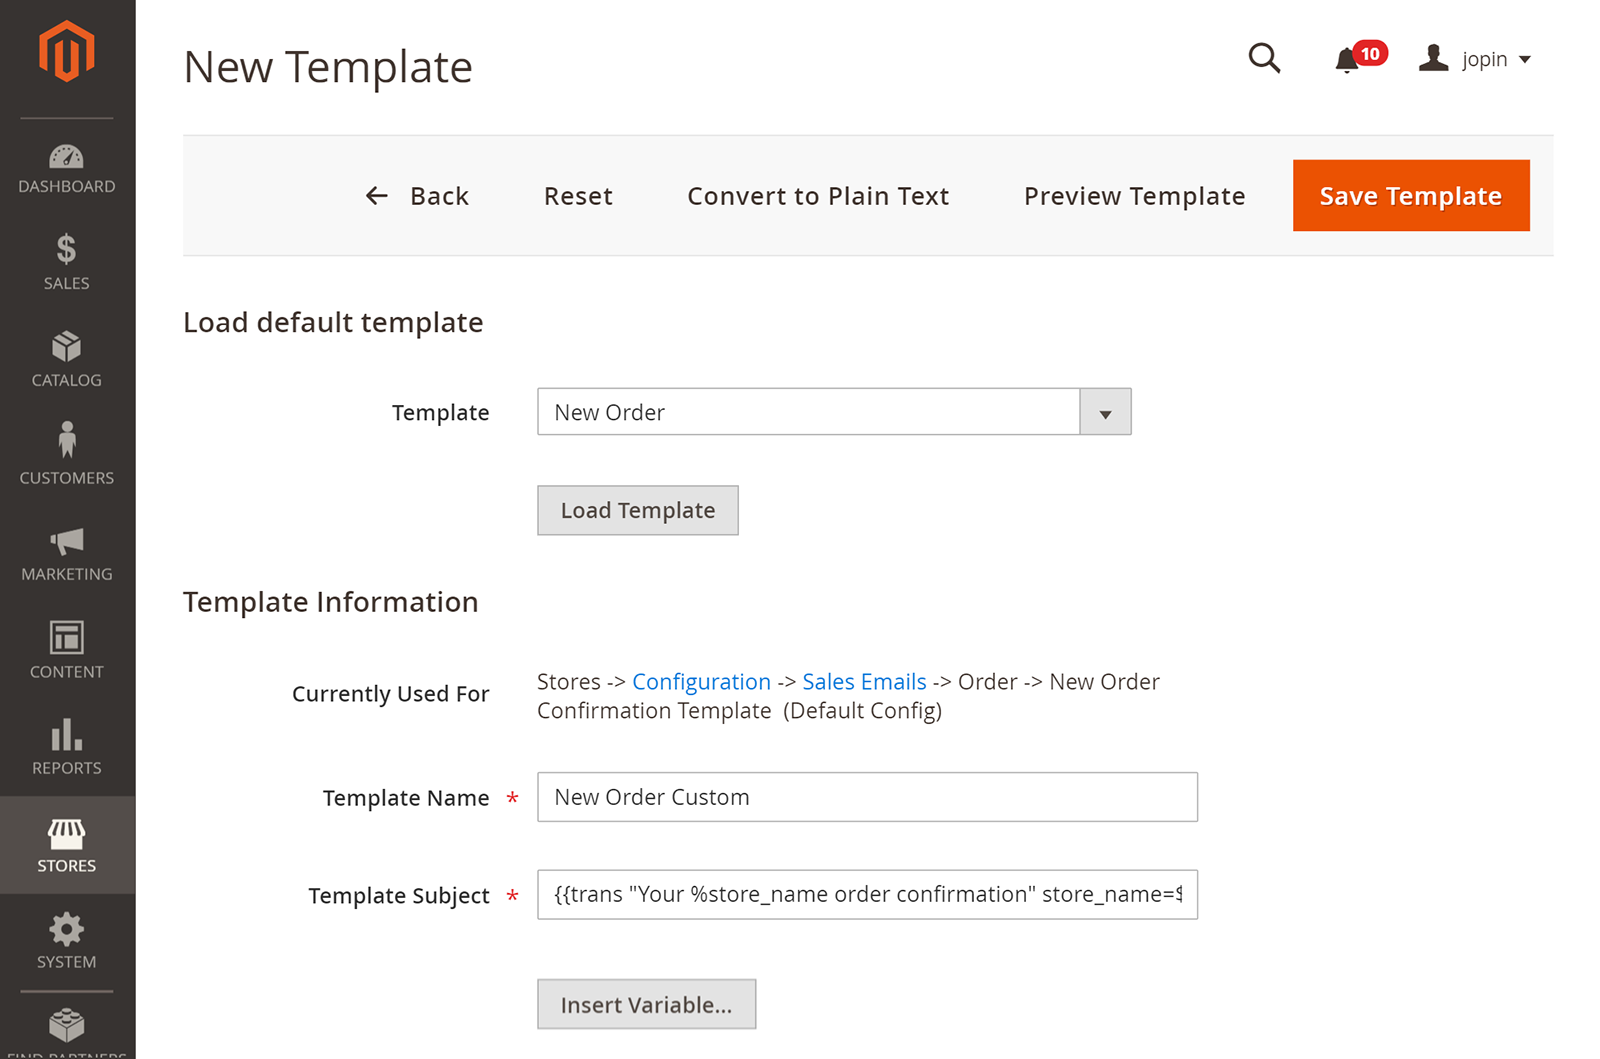
Customize email templates using the Magento Admin NoteThe path to the configuration settings for each default template is displayed in the Currently Used For field in the Template Information section. Make note of this path because you will need it later when you configure this new template to be used instead of the default template. -
3
In Template Name, enter a name to identify the template in the Magento Admin.
-
4
In Template Subject, add plain text to use as the subject of the emails sent using the template you create. This field can contain system variables.
-
5
Customize the template content. Read more about in the Customize Email Content section below.
-
6
In Template Styles, optionally add CSS styles for the template. These styles are added inside of a <style> tag in the <head> of the email.
-
7
Click Save Template.
Configure Your Newly Created Template
Now that you have created a template, you must configure that template to be used.
-
1
Go to Stores > Settings > Configuration > Sales > Sales Emails.
-
2
Locate the section that contains the template you want to override.
Note: This is the section referenced by Currently Used For in your new template. -
3
Select your newly created template from the list.
-
4
Click Save Config.
Customize Email Templates Using a Theme
This pattern is used for each template:
[theme]/ModuleVendorName_ModuleName/email
For example, to customize the New Order email template, locate the template called order_new.html in the [theme]/Magento_Sales/email directory.
You can customize all emails by customizing their HTML files. Email templates depend on HTML & CSS just like page templates do. If you’re familiar with HTML & CSS, then you can modify the email templates using your favorite code or text editor. The advantage of this method is that it gives you more control over the templates. This method is meant for developers or advanced users.
Customize Header and Footer Templates
Every frontend email template includes a header and footer template. By default, they load contents from these files:
app/design/frontend/[themeVendor]/[theme]/Magento_Email/email/header.html
app/design/frontend/[themeVendor]/[theme]/Magento_Email/email/footer.html
You can customize header and footer templates using either the theme or admin customization methods discussed previously.
Email Logos
Customize the Email Logo Using the Admin
-
1
Go to Content > Design > Configuration and click Edit in the configuration record corresponding to your store view.
-
2
Under Transactional Emails in the Logo Image field, upload your logo and specify the alternative text for it.
-
3
Enter values for Logo Width and Logo Height.
-
4
Click Save Configuration.
Customize the Email Logo Using a Theme
If the logo is not set in the Magento admin, it is loaded by default from the following:
app/design/frontend/[themeVendor]/[theme]/Magento_Email/web/logo_email.png
Follow these steps to customize your logo using a theme:
-
1
Replace the logo called logo_email.png located in
app/design/frontend/[themeVendor]/[theme]/Magento_Email/web/logo_email.png
-
2
Open the file header.html located in
app/design/frontend/[themeVendor]/[theme]/Magento_Email/email/header.html
-
3
Edit the width and height attributes of the logo
{{if logo_width}}
    width="{{var logo_width}}"
{{else}}
    width="200"
{{/if}}

{{if logo_height}}
    height="{{var logo_height}}"
{{else}}
    height="100"
{{/if}}
Customize Email Content
To add the store and sales-related information to a template, use system variables. System variables are placeholders that are replaced by particular values when the actual email is generated.
Email Header Template: {{template config_path="design/email/header_template"}}
Email Logo Image Alt: {{var logo_alt}}
Email Logo Image URL: {{var logo_url}}
Email Logo Image Height: {{var logo_height}}
Email Logo Image Width: {{var logo_width}}
Template CSS: {{var template_styles|raw}}
Base Unsecure URL: {{config path="web/unsecure/base_url"}}
Base Secure URL: {{config path="web/secure/base_url"}}
General Contact Name: {{config path="trans_email/ident_general/name"}}
Sales Representative Contact Name: {{config path="trans_email/ident_sales/name"}}
Sales Representative Contact Email: {{config path="trans_email/ident_sales/email"}}
Custom1 Contact Name: {{config path="trans_email/ident_custom1/name"}}
Custom1 Contact Email: {{config path="trans_email/ident_custom1/email"}}
Custom2 Contact Name: {{config path="trans_email/ident_custom2/name"}}
Custom2 Contact Email: {{config path="trans_email/ident_custom2/email"}}
Store Name: {{config path="general/store_information/name"}}
Store Phone Number: {{config path="general/store_information/phone"}}
Store Hours: {{config path="general/store_information/hours"}}
Country: {{config path="general/store_information/country_id"}}
Region/State: {{config path="general/store_information/region_id"}}
Zip/Postal Code: {{config path="general/store_information/postcode"}}
City: {{config path="general/store_information/city"}}
Street Address 1: {{config path="general/store_information/street_line1"}}
Street Address 2: {{config path="general/store_information/street_line2"}}
Store Contact Address: {{config path="general/store_information/address"}}
Customer Account URL: {{var this.getUrl($store, 'customer/account/')}}
Customer Email: {{var customer.email}}
Customer Name: {{var customer.name}}
Billing Address: {{var formattedBillingAddress|raw}}
Email Order Note: {{var order.getEmailCustomerNote()}}
Order ID: {{var order.increment_id}}
Order Items Grid: {{layout handle="sales_email_order_items" order=$order area="frontend"}}
Payment Details: {{var payment_html|raw}}
Shipping Address: {{var formattedShippingAddress|raw}}
Shipping Description: {{var order.getShippingDescription()}}
The selection of available variables depends on which template you use as a basis. The template-specific variables are contained in a <!--@vars @--> comment at the top of each template on the file system.
You can customize email content using either the theme or admin customization methods discussed previously.
Customize Email Styles
To customize theme-specific variables for email templates, you can add new CSS rules or modify existing ones in the file _email-variables.less, which is located at
app/design/frontend/[themeVendor]/[theme]/web/css/source/_email-variables.less
To extend or modify theme-specific styles of email templates, you can add new CSS rules in the file _email-extend.less, which is located at
app/design/frontend/[themeVendor]/[theme]/web/css/source/_email-extend.less
TIP: Learn more about how styles work in Magento here ↗.
Modification Example
Let’s put everything together and modify the following:
-
1
Change the background color of the emails in the header template
-
2
Change the links located in the footer template
-
3
Change the heading text "Thanks for your order, John" and its color in the New Order email template
-
4
Add the text "Hello World" under the order number in the New Order email template
Change Background Color
Most of the time, the background color of emails is defined only in the file header.html in the [theme]/Magento_Email/email directory (although it is not a rule).
To replace the default background color search for places where it is defined and replace it. For example,
<html bgcolor="#F7F8F8" style="background-color:#F7F8F8">
Change Links in Footer
To modify links defined in the footer template, open the template called footer.html in the [theme]/Magento_Email/email directory. Then locate the links and replace the hyperlinks defined in the href tag and the anchor text, which is the visible text in the footer:
<a href="http://www.example.com">Example Anchor Text</a>
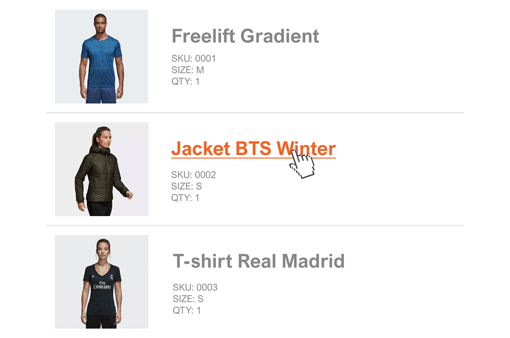
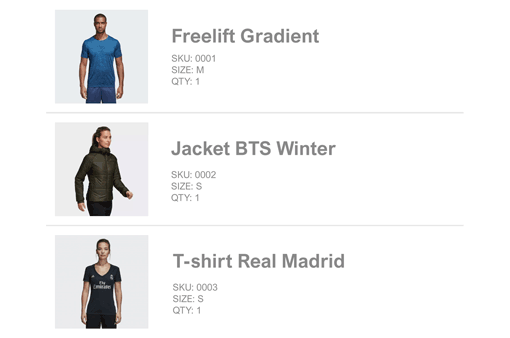
Change Heading Text
To modify the heading text, "Thanks for your order, John" in the New Order email template, open the template called order_new.html in the [theme]/Magento_Sales/email directory. Locate the line where the trans directive "Thanks for your order %name" is displayed:
<h1>{{trans "<span>Thanks</span> for your order %name" name=$order.getCustomerFirstname() |raw}}</h1>
Now you see the text is wrapped in the H1 tag. Open the CSS file called _email-extend.less in the [theme]/web/css/source directory. Locate the line where the color for the H1 tag is defined. For example,
.email-summary {
    td {
        text-align: center;
        padding-top: 20px;
        padding-bottom: 10px;

        h1 {
            margin-bottom: 4px;
            padding-bottom: 0;
            border-bottom: 0;
            color: @text-highlight__color;
            font-weight: bold;
        }
You can directly replace its color in this file. Alternatively, as you can see in this example, it is using a variable value defined in the file _email-variables.less in the [theme]/web/css/source directory.
@text-highlight__color: #7B858B;
Add Text
To add new text in the New order email template, open the template called order_new.html in the [theme]/Magento_Sales/email directory. Locate the line where the order number is displayed:
<h3>{{trans "Order #<span class="no-link">%increment_id</span>" increment_id=$order.increment_id |raw}}</h3>
under the line paste the following:
{{trans "Hello World"}}
Graphics in Emails
You can’t send graphics along with your email. The only way to do that is to host the graphics on a server and then insert the code into your HTML emails to download the graphics when the message is opened.
It is important to note that HTML emails generally only support absolute paths to links and images embedded within your emails. The absolute path provides the complete HTTP address: the protocol, domain, directory path, and file name with its suffix.
https://themes.email/images/banner.png
Where to Host Images
If you’re sending emails to thousands of people per day, then consider storing your images on a content delivery network (CDN), such as Amazon’s CloudFront. Otherwise, uploading your image to your Magento will be enough.
A good tip is to upload all your images at the very beginning so that you have absolute paths to images from the start.
Linking to an Image in HTML
In HTML, use absolute paths that point back to your Magento or CDN where the image is located:
<img src="https://themes.email/images/banner.png" alt="Banner">
Image Formats
The three most common formats predominantly used in emails are JPEG, GIF, and PNG. Here are the best use cases for all the image file formats:
- JPEG: To showcase photographs of real-world elements and stock photographs
- GIF: To show any animation or blend elements that don’t use many colors in the backgrounds
- PNG: When you need your image to blend in with the background color
Retina Images
A high-density display has double the pixel density of a standard display. This means a container of 600 px containing the image of 600 px will be stretched to 1200 px. Therefore, the image will also stretch to 1200 px and become blurred out. It is a good practice to have an image of 1200 px squeezed inside a container of 600 px to render a pixel-perfect image in your emails.
Videos
Many email clients can’t support video rendering, so avoid videos altogether.